Dzień 9 - wyświetlacz, czujnik odległości

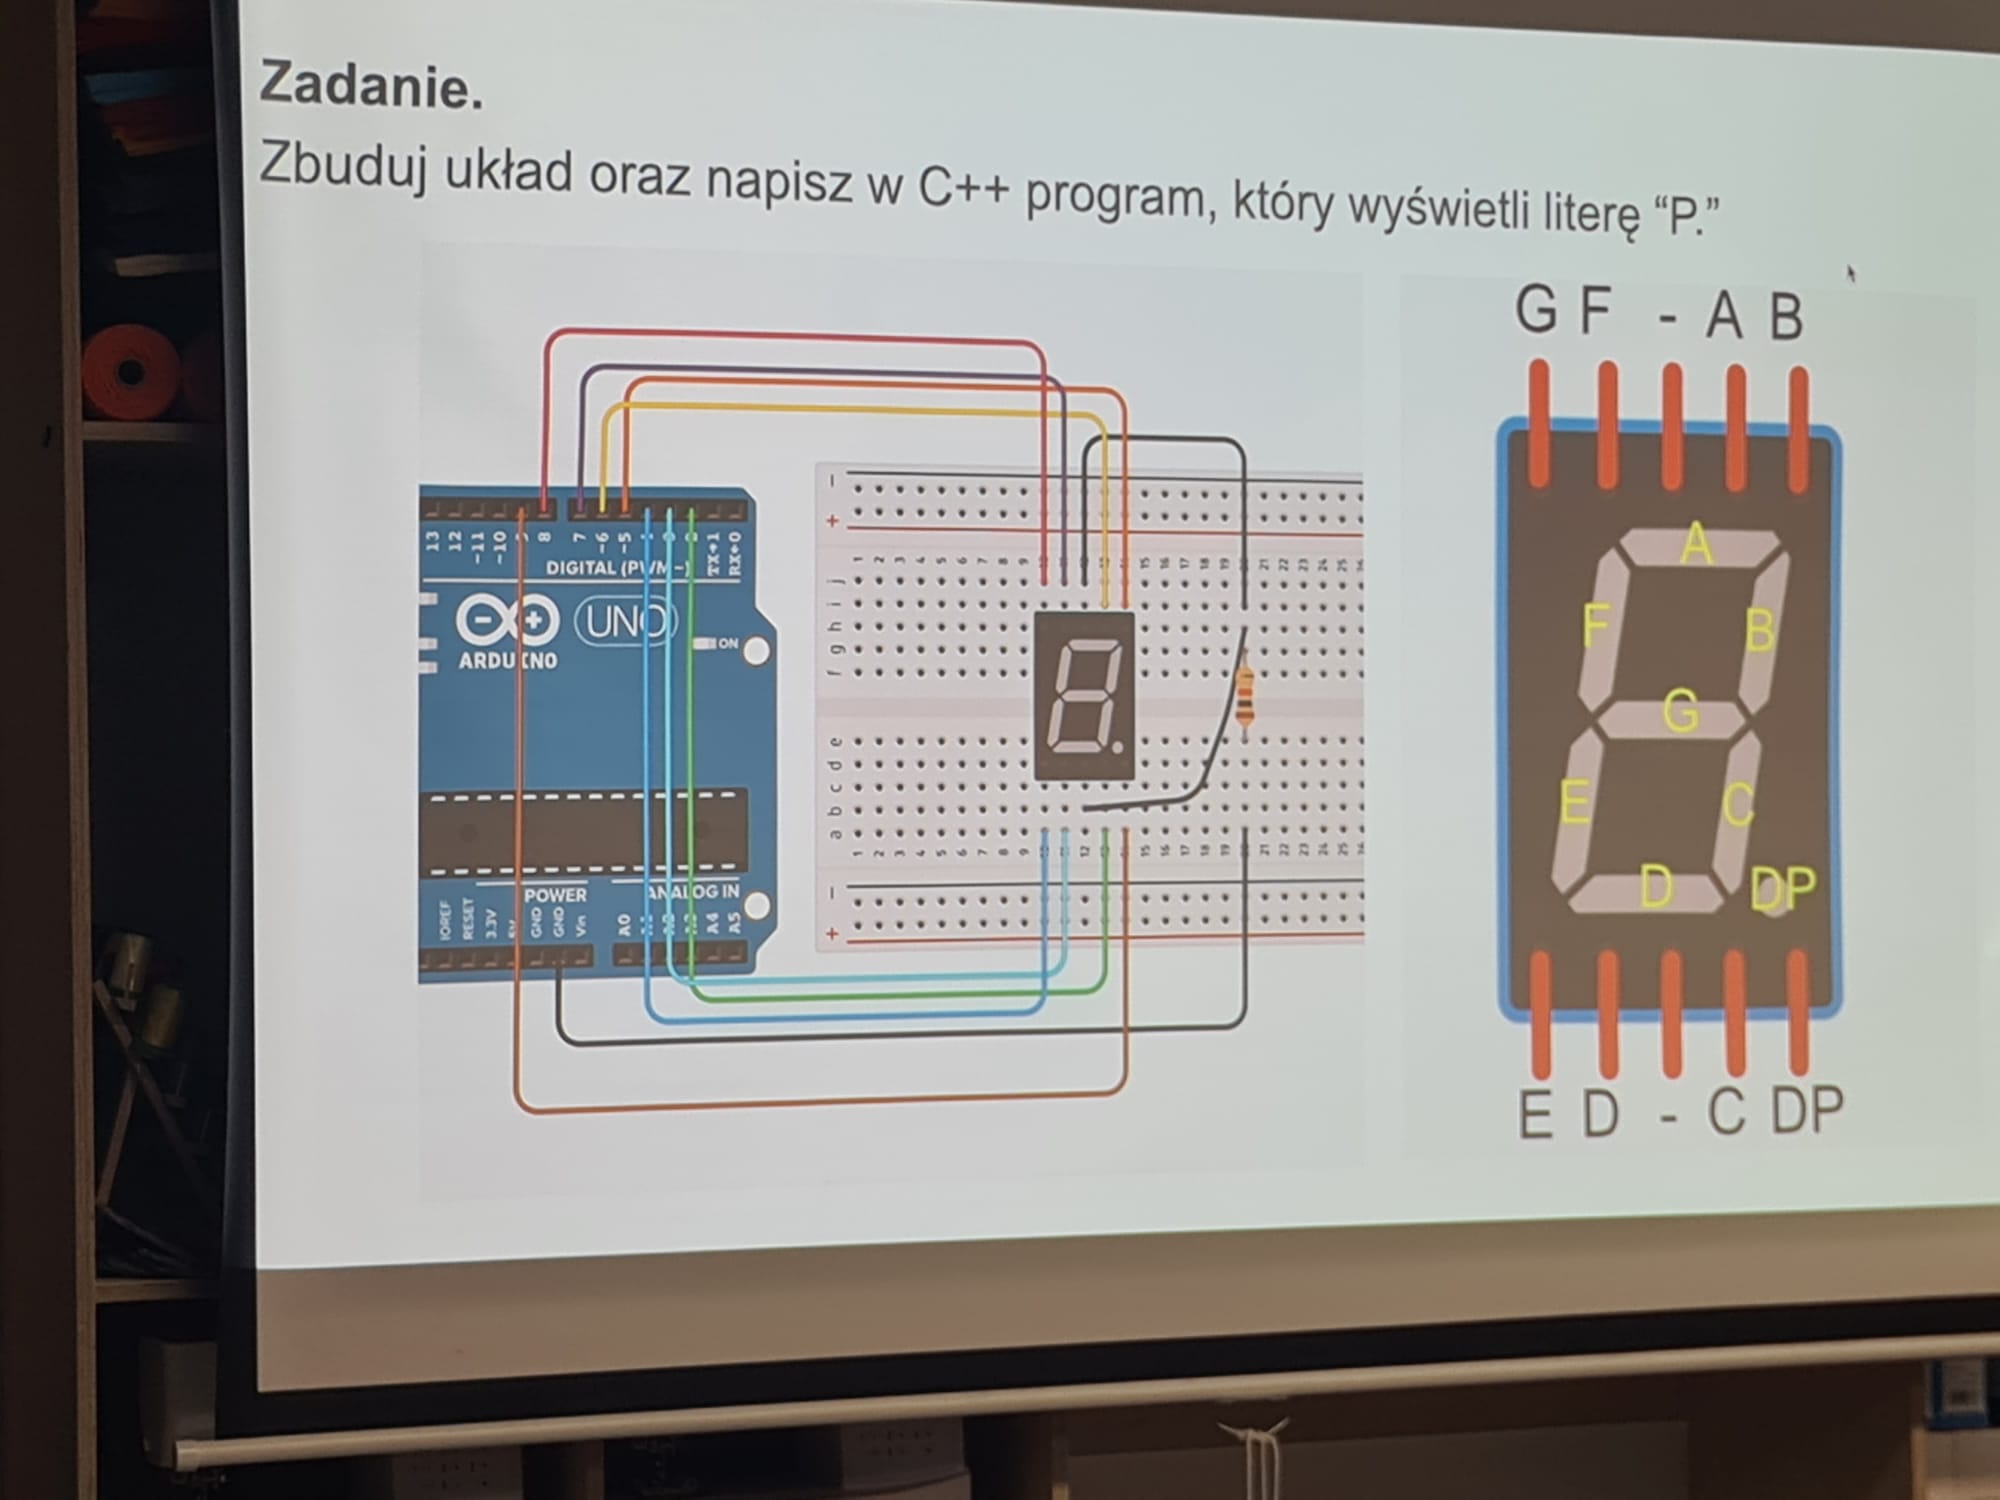
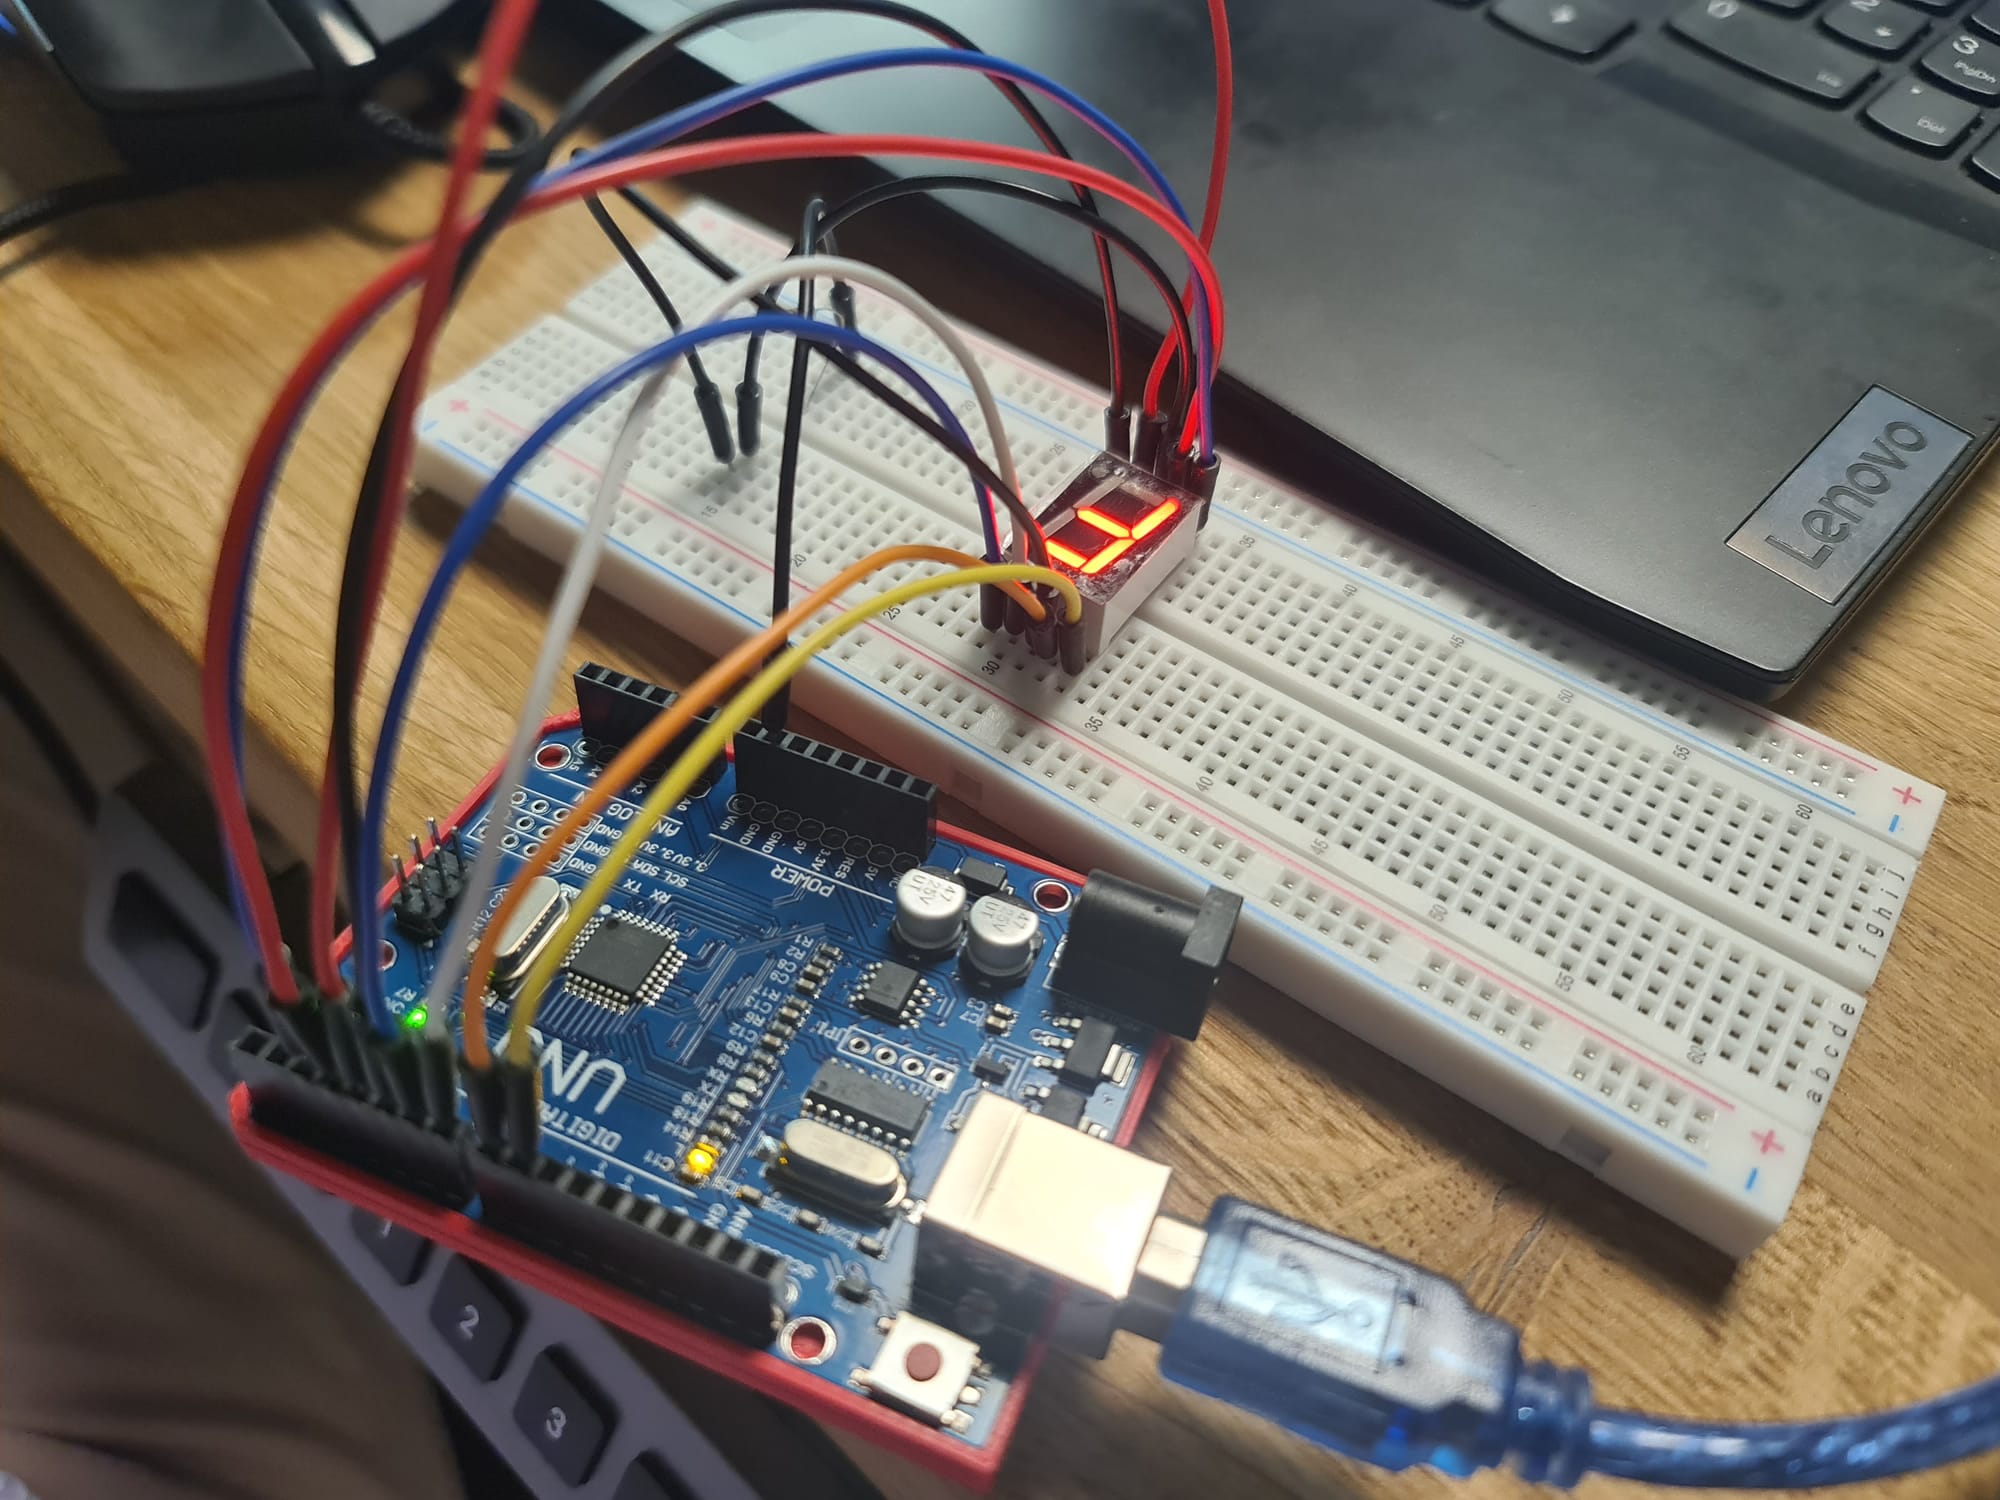

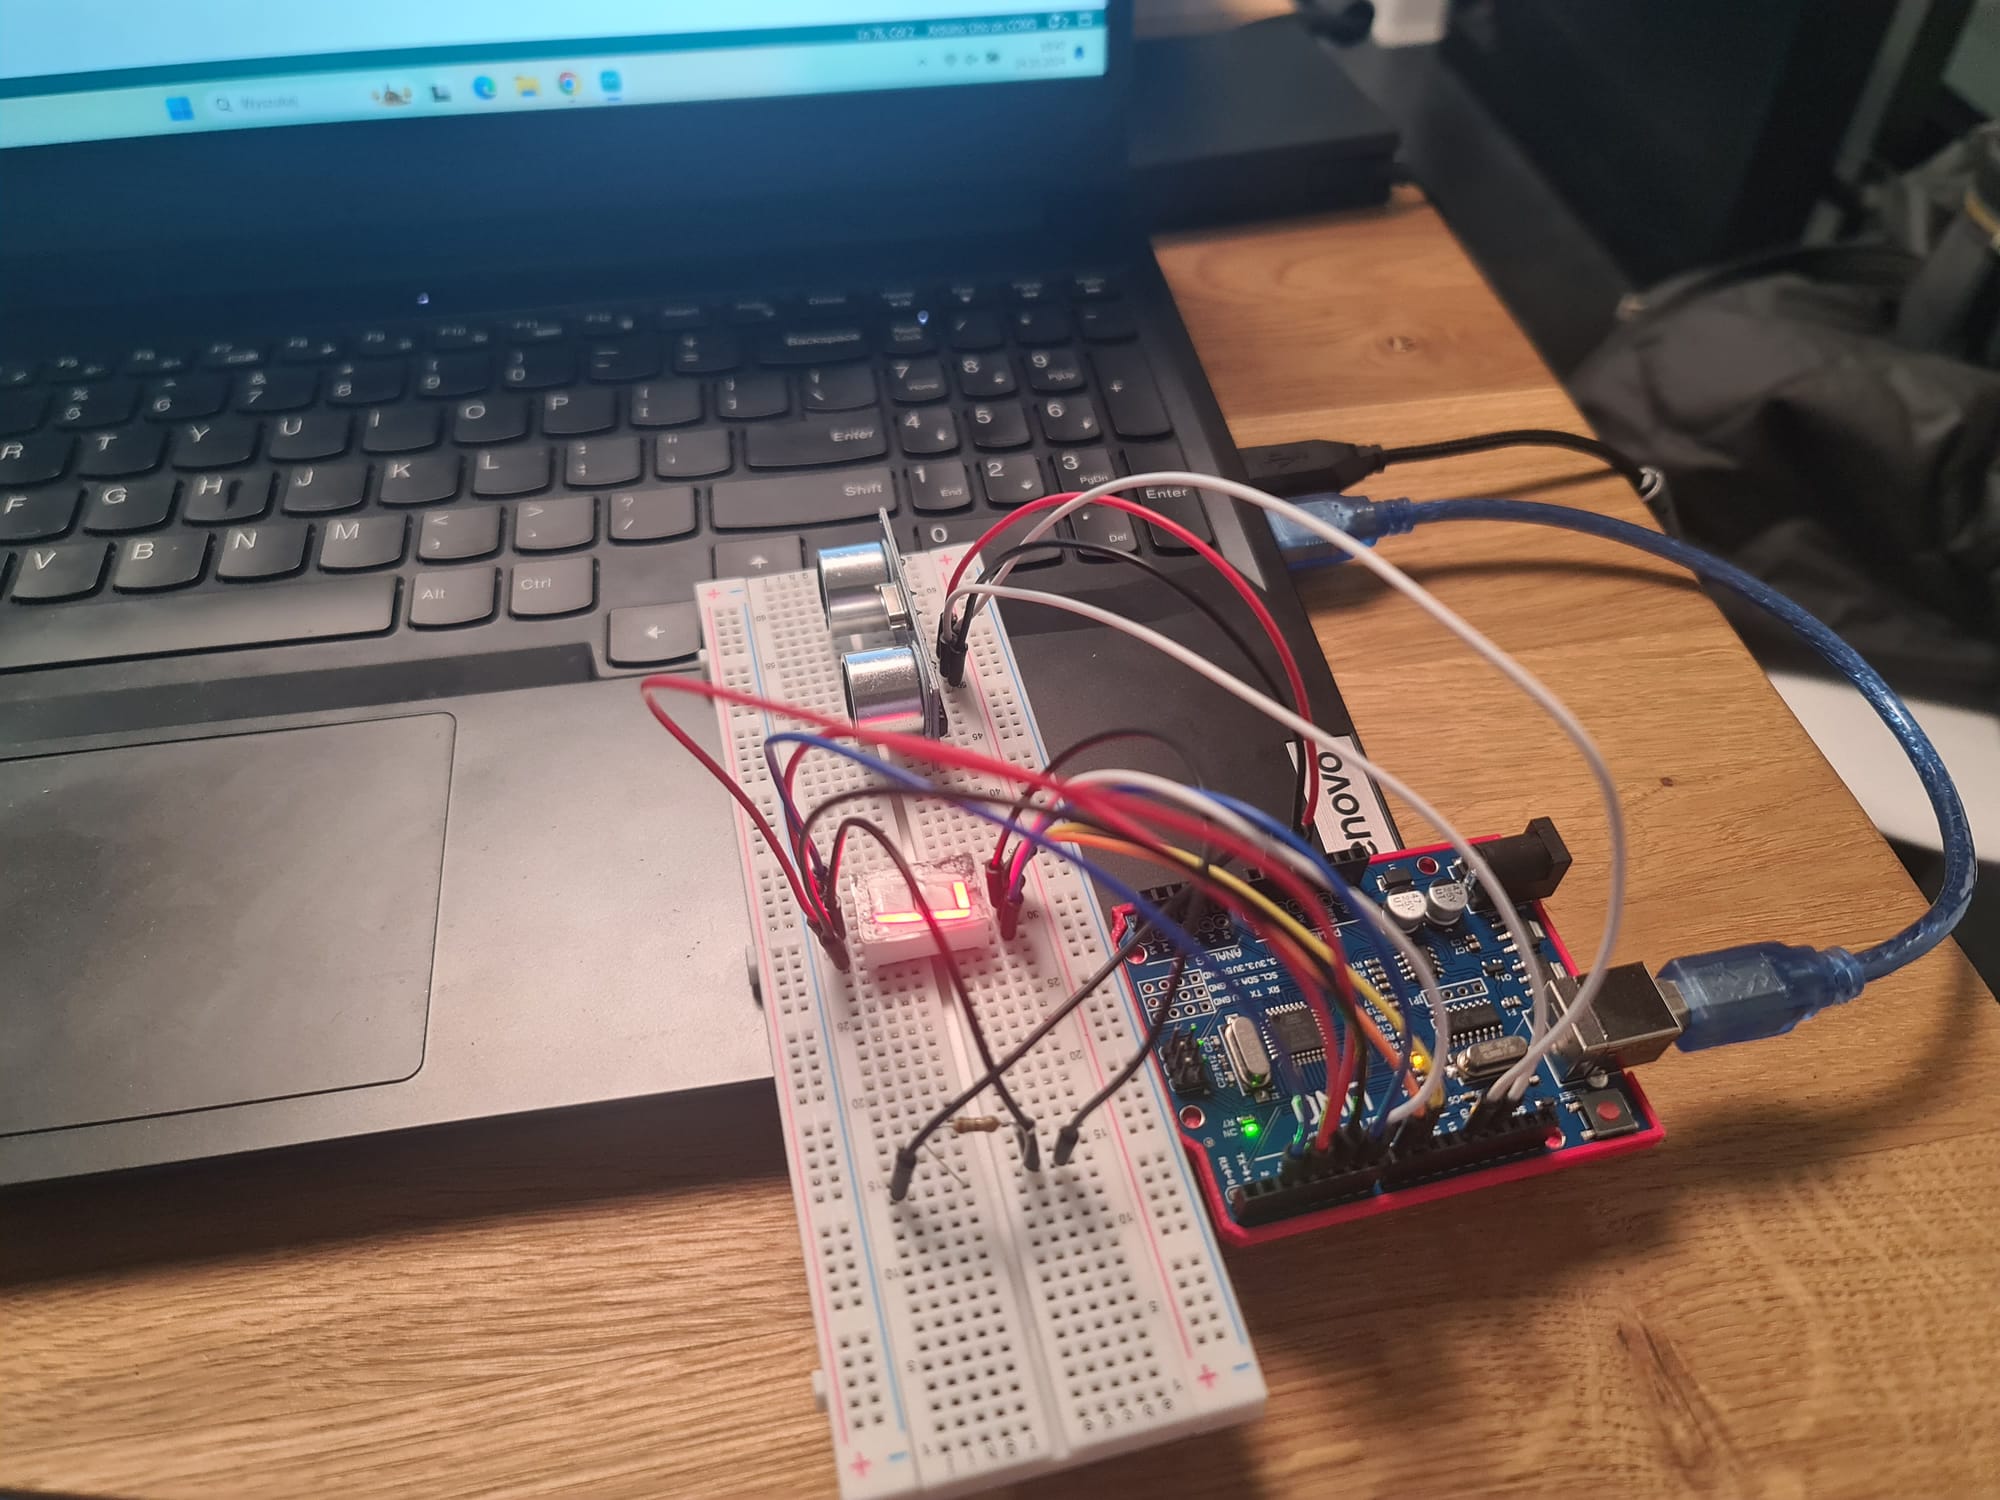
czujnik odległości + led 7-segmentowy
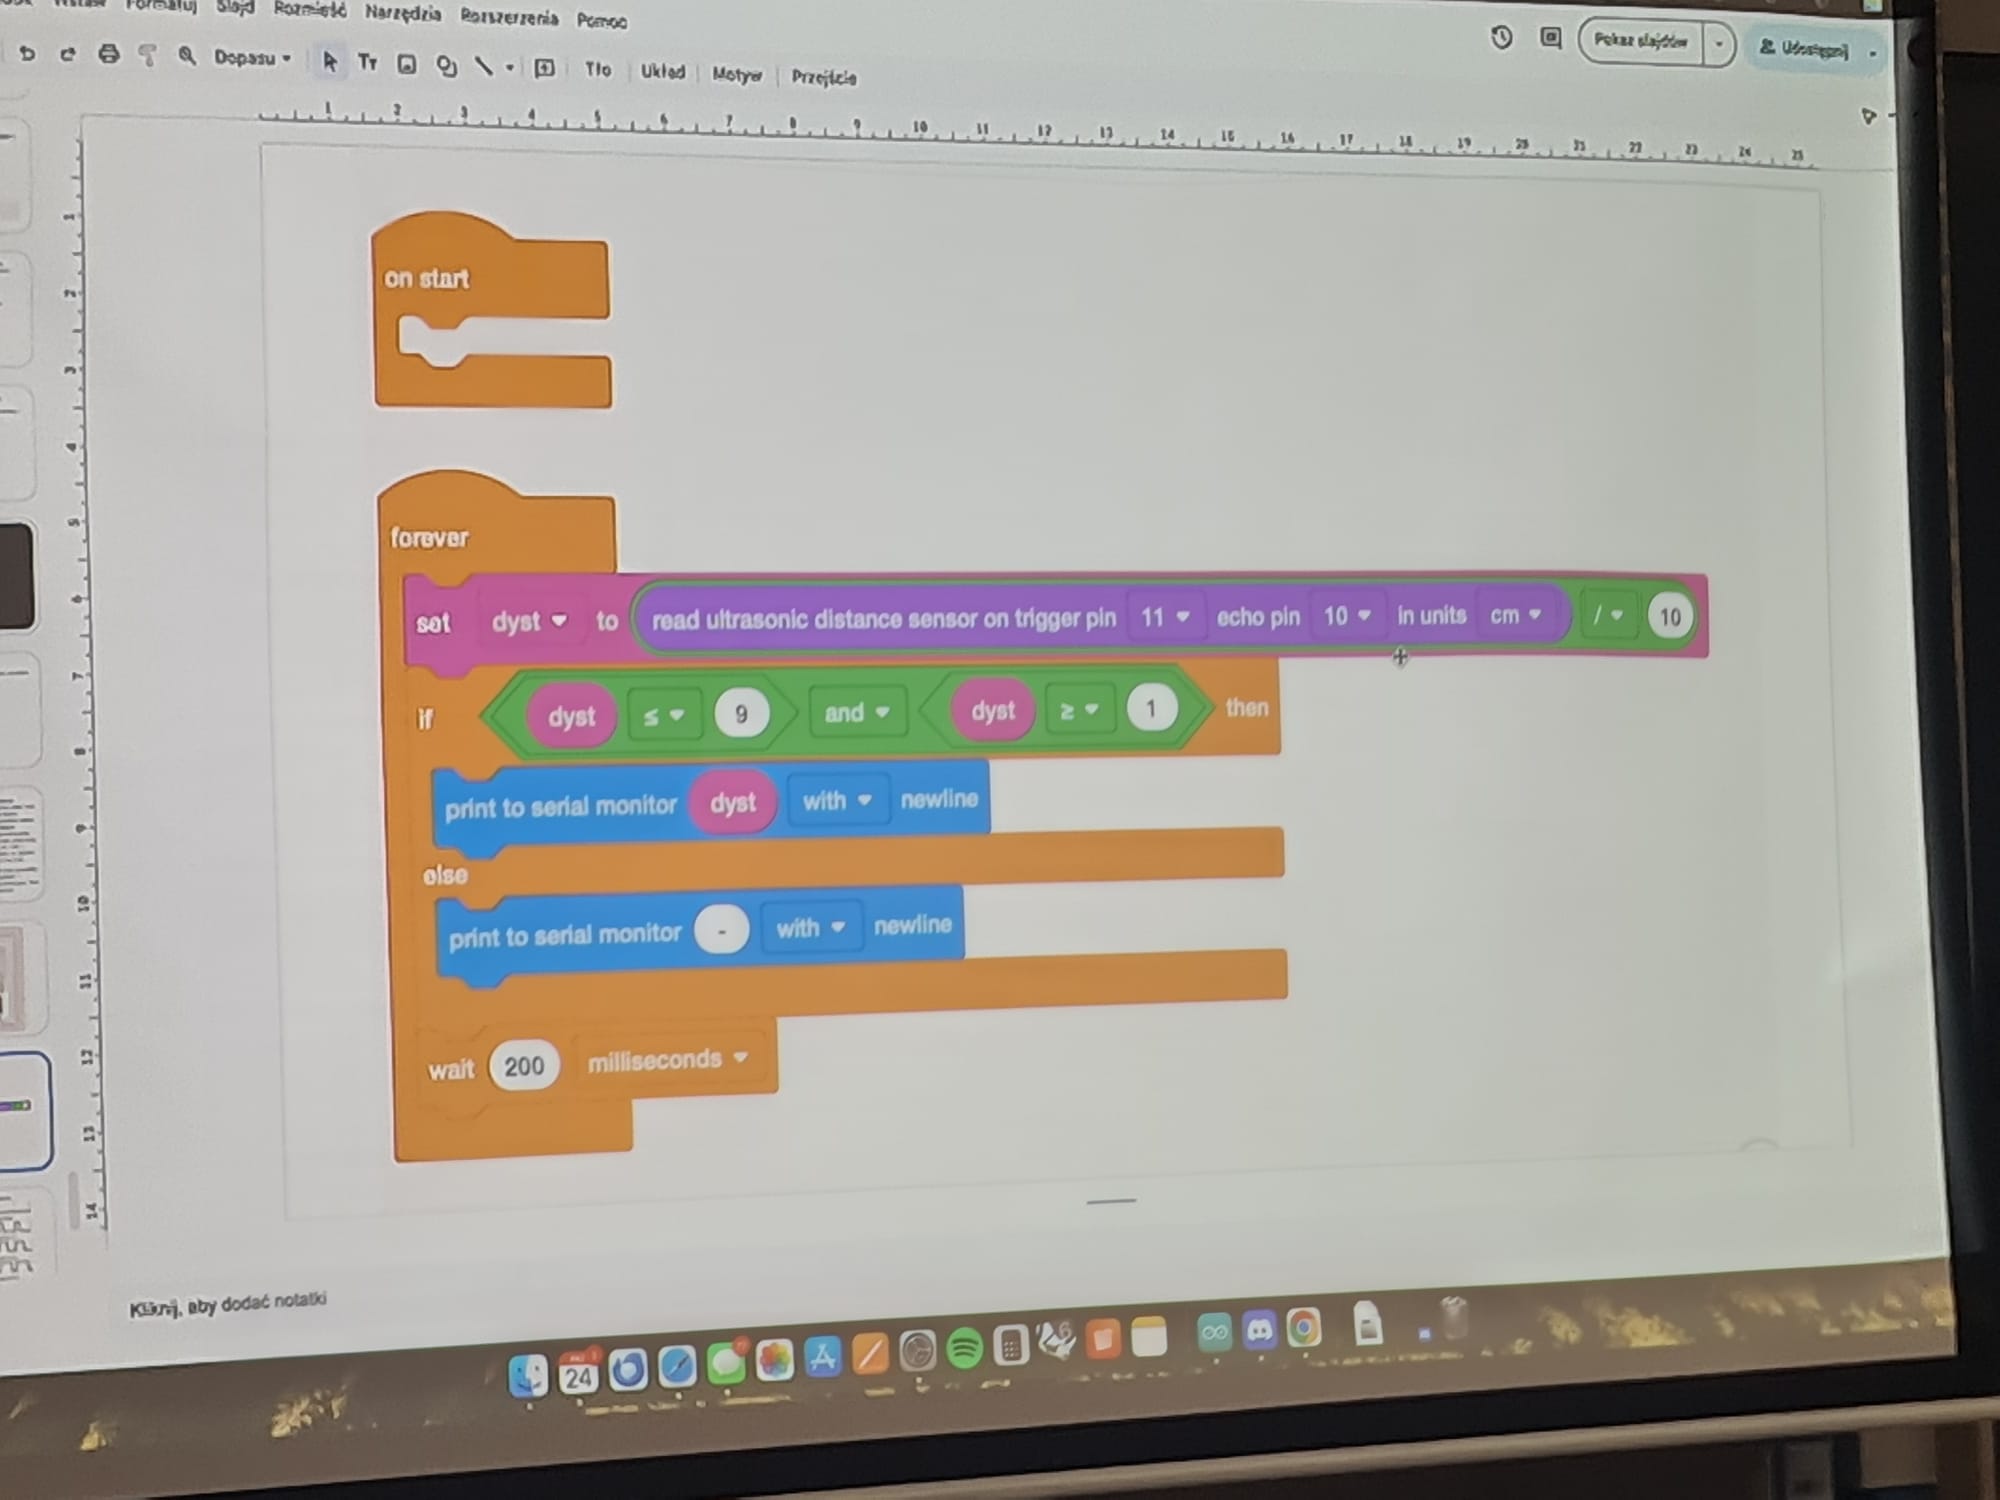
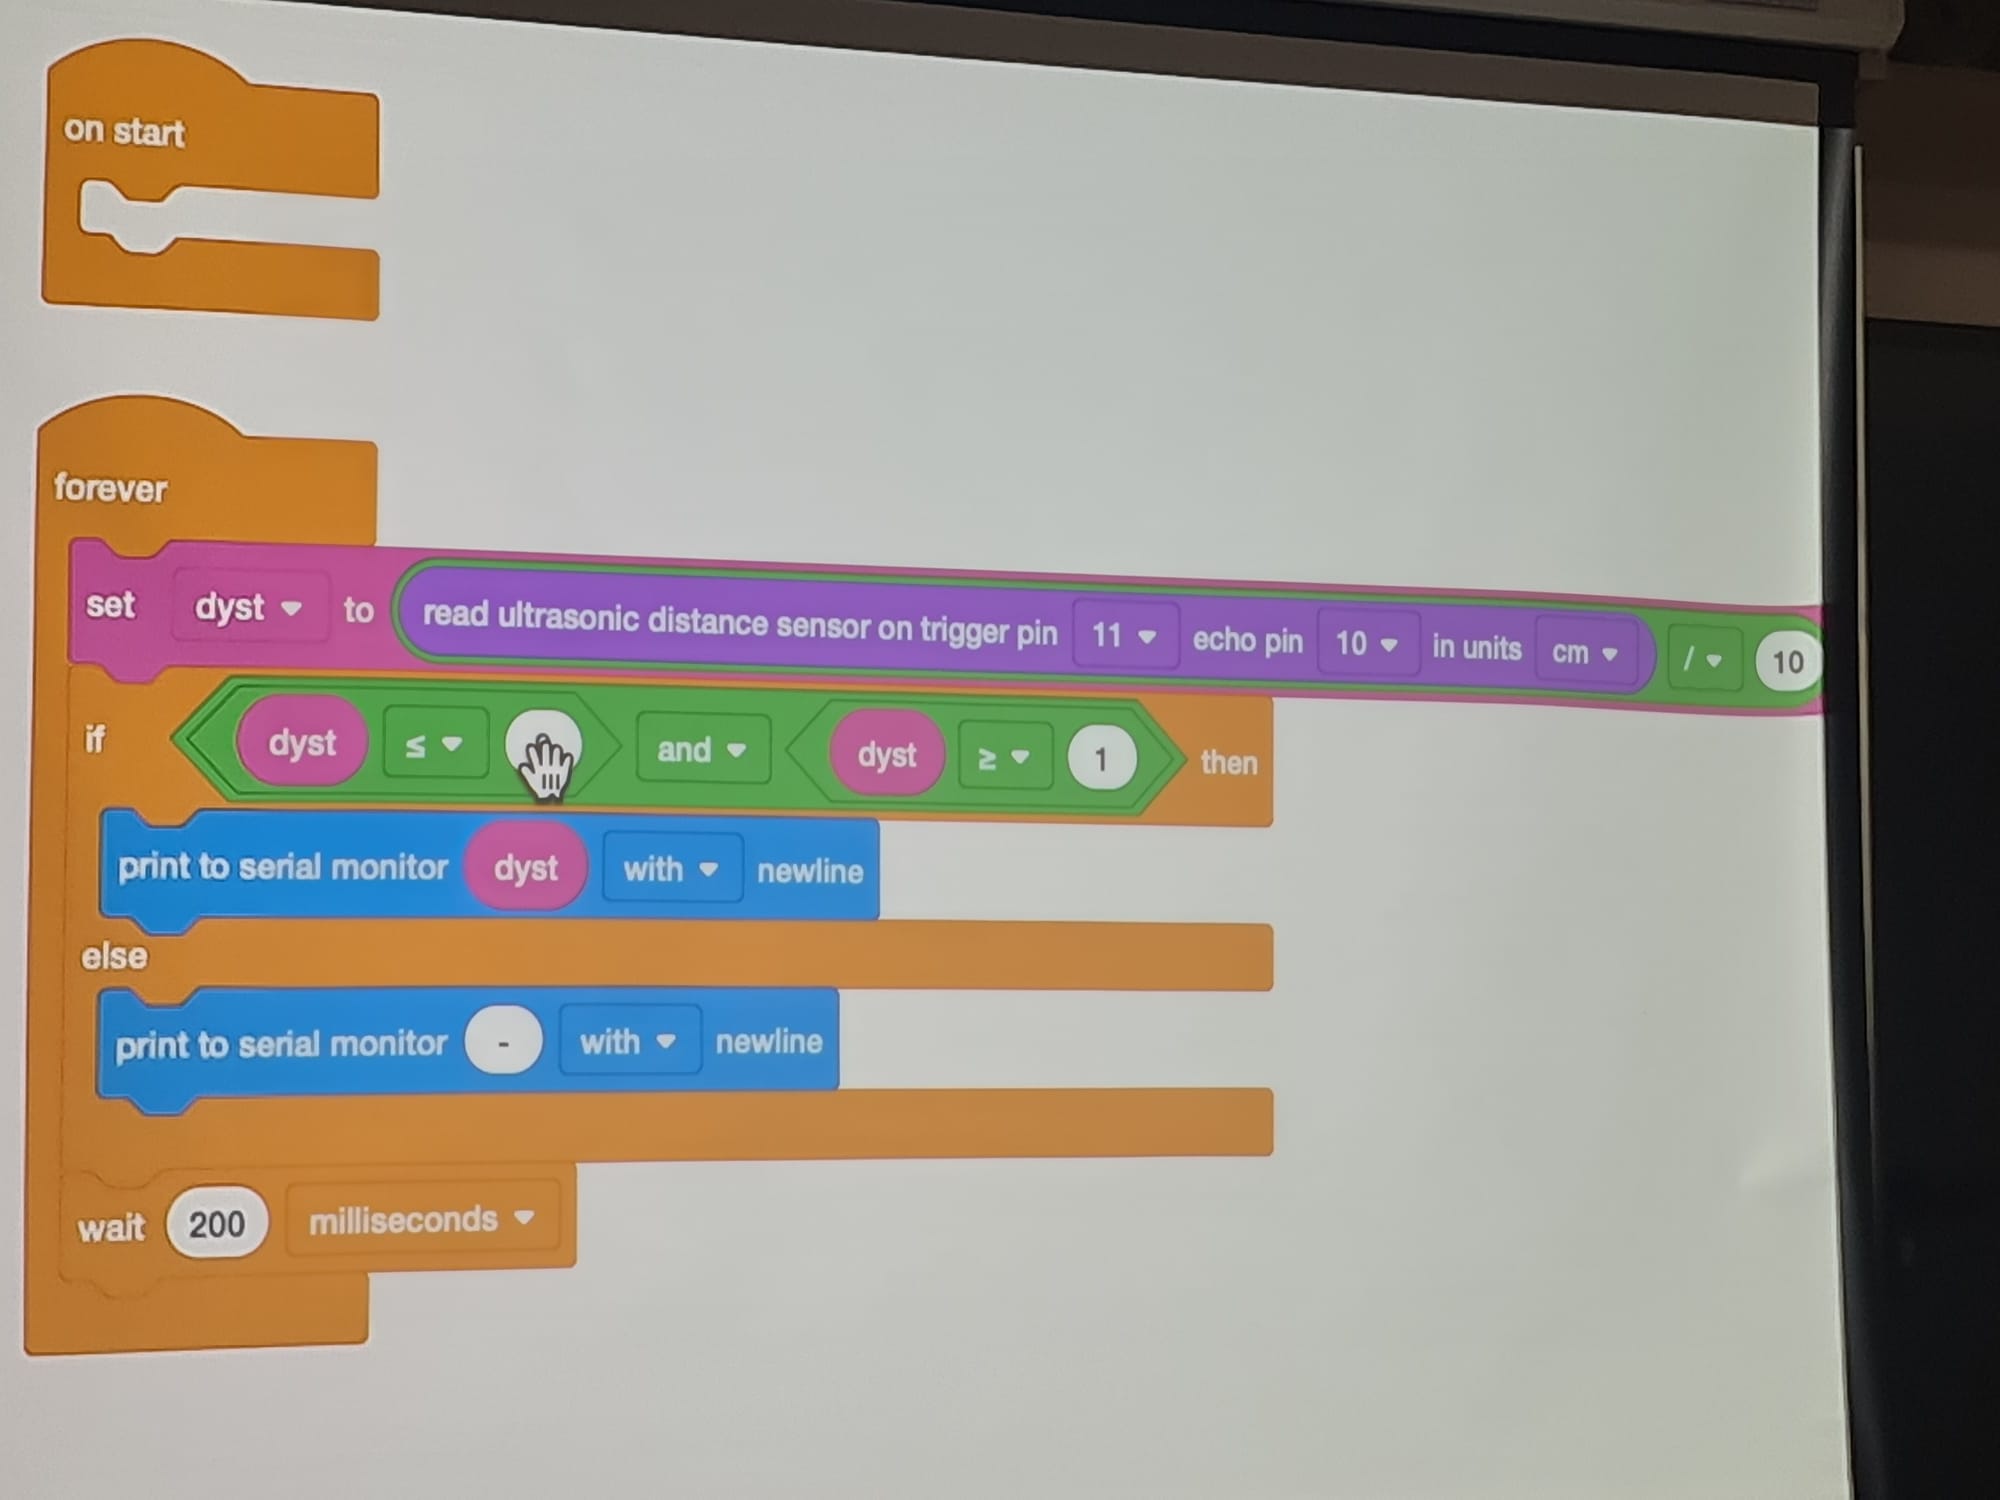
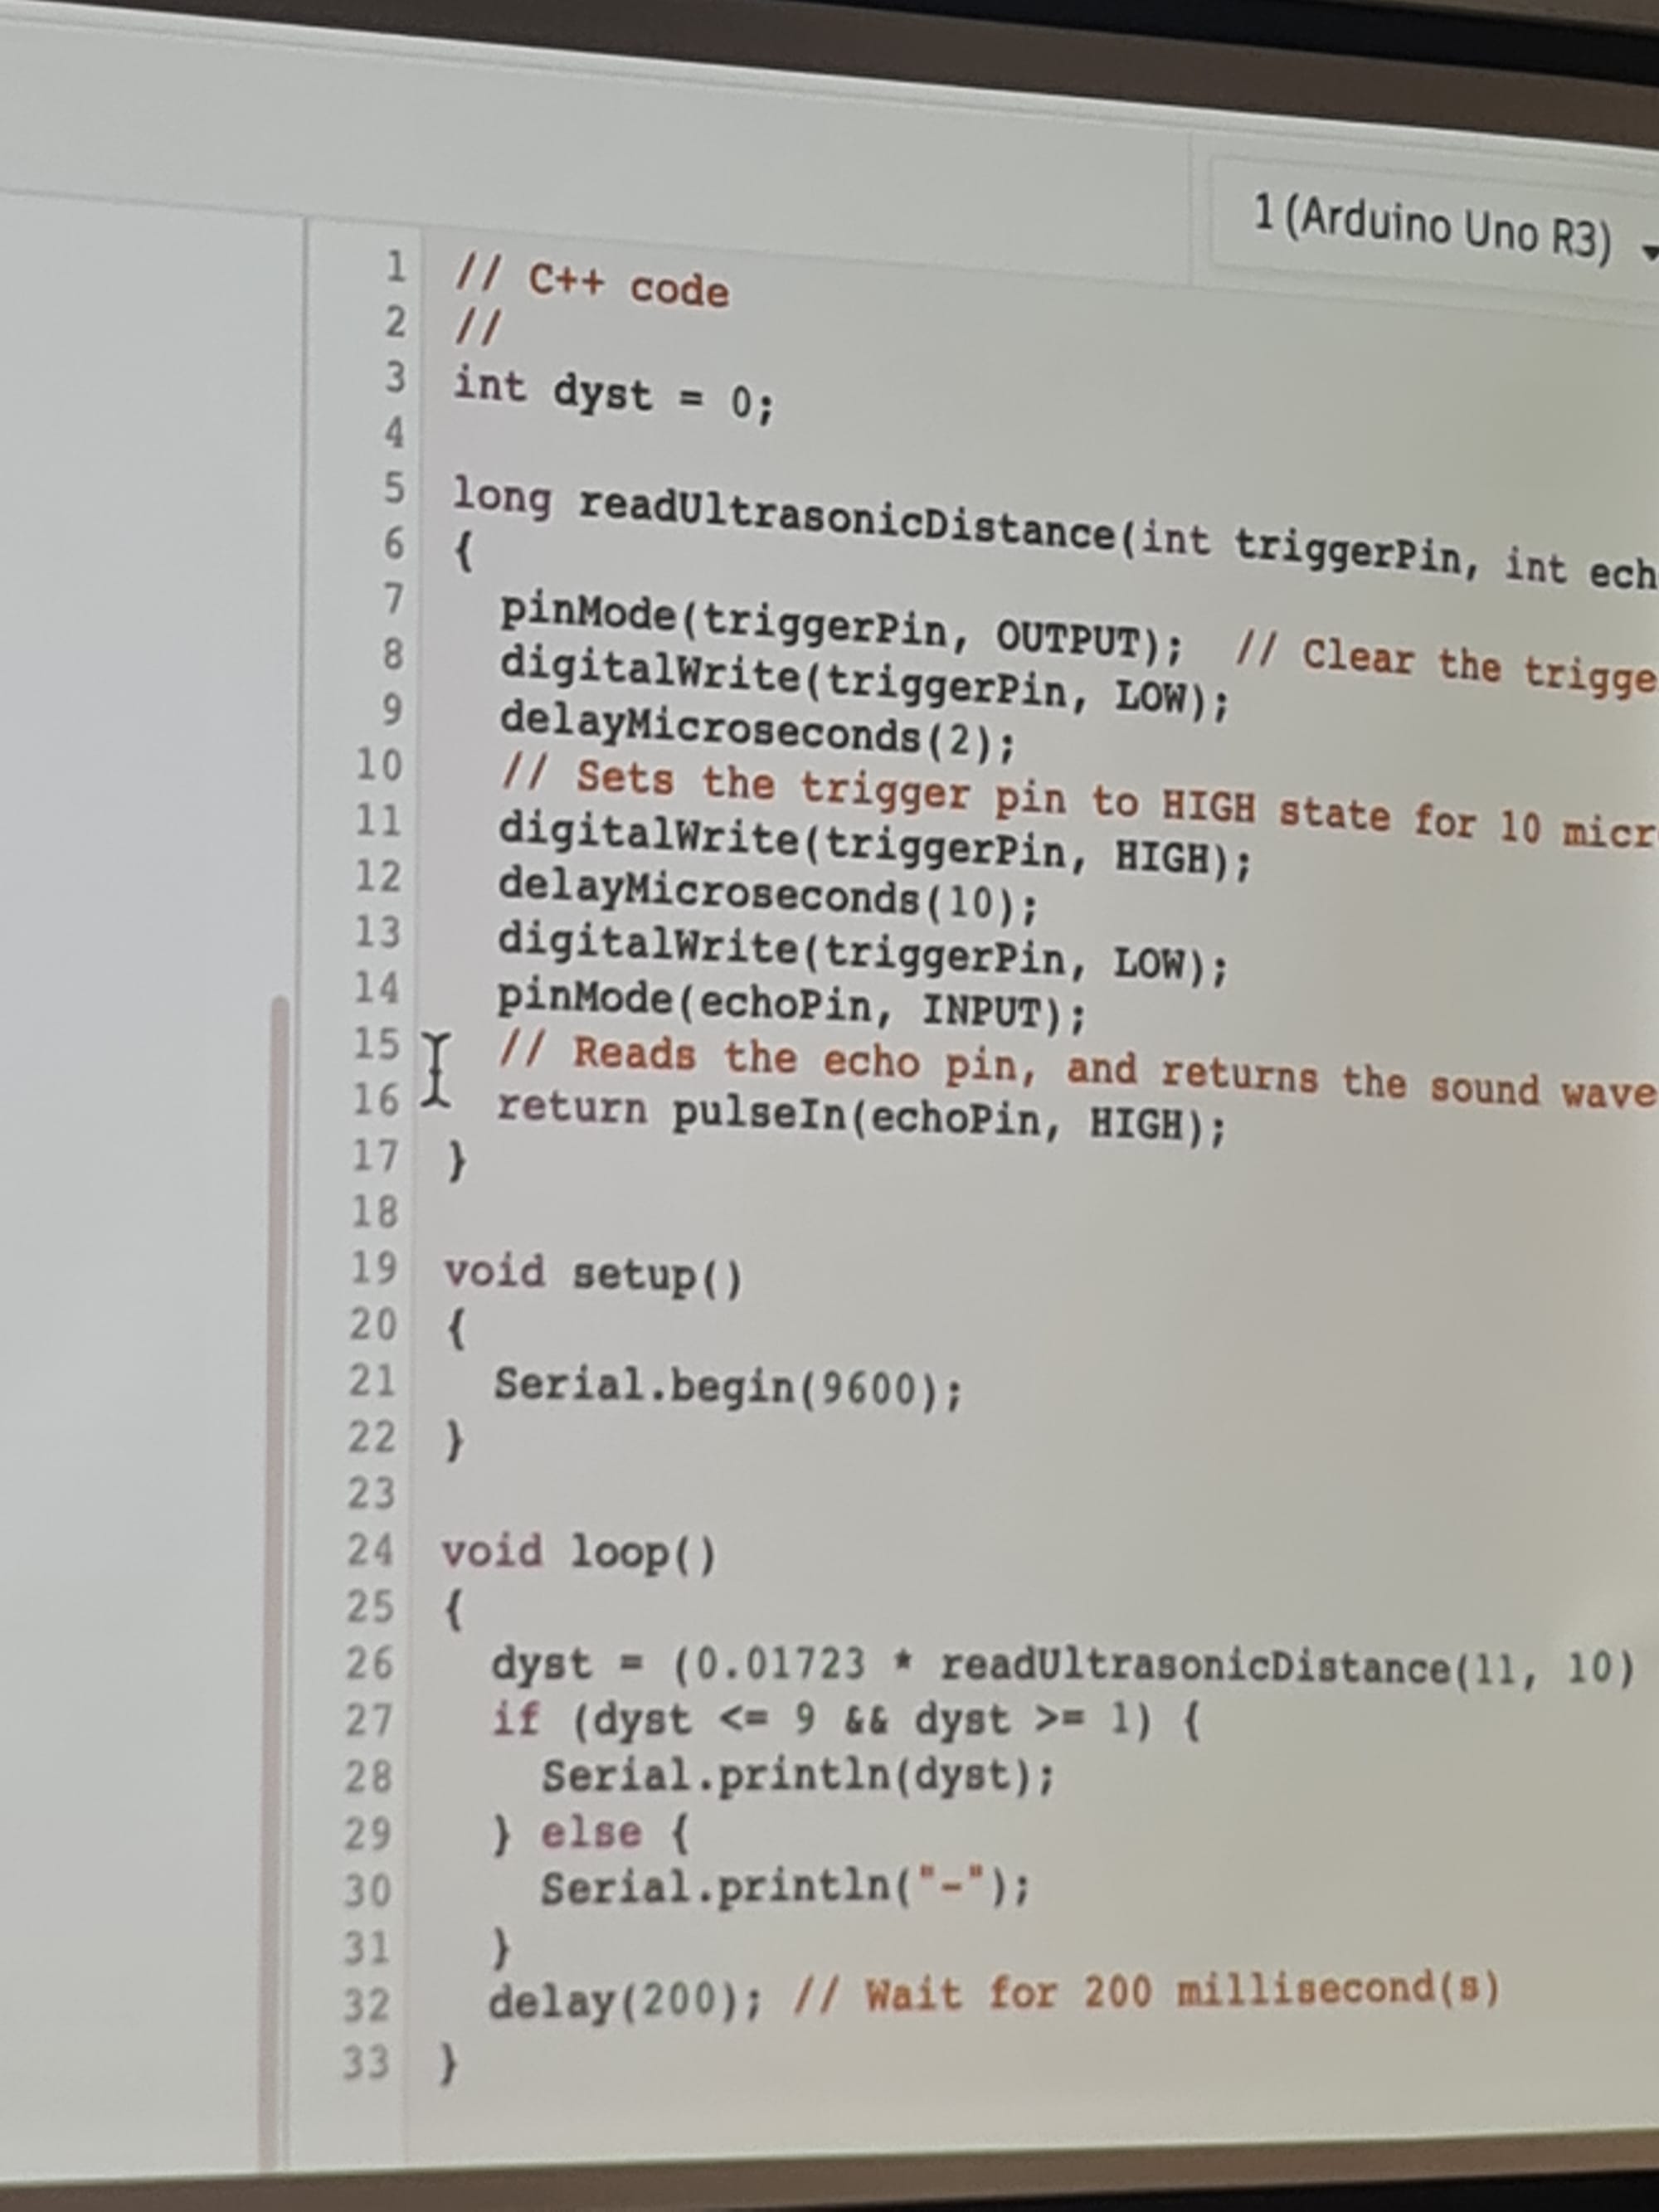
To nie jest idealny kod:
/* * Example shows how to setup custom Arduino pins for a single-digit seven-segment display */
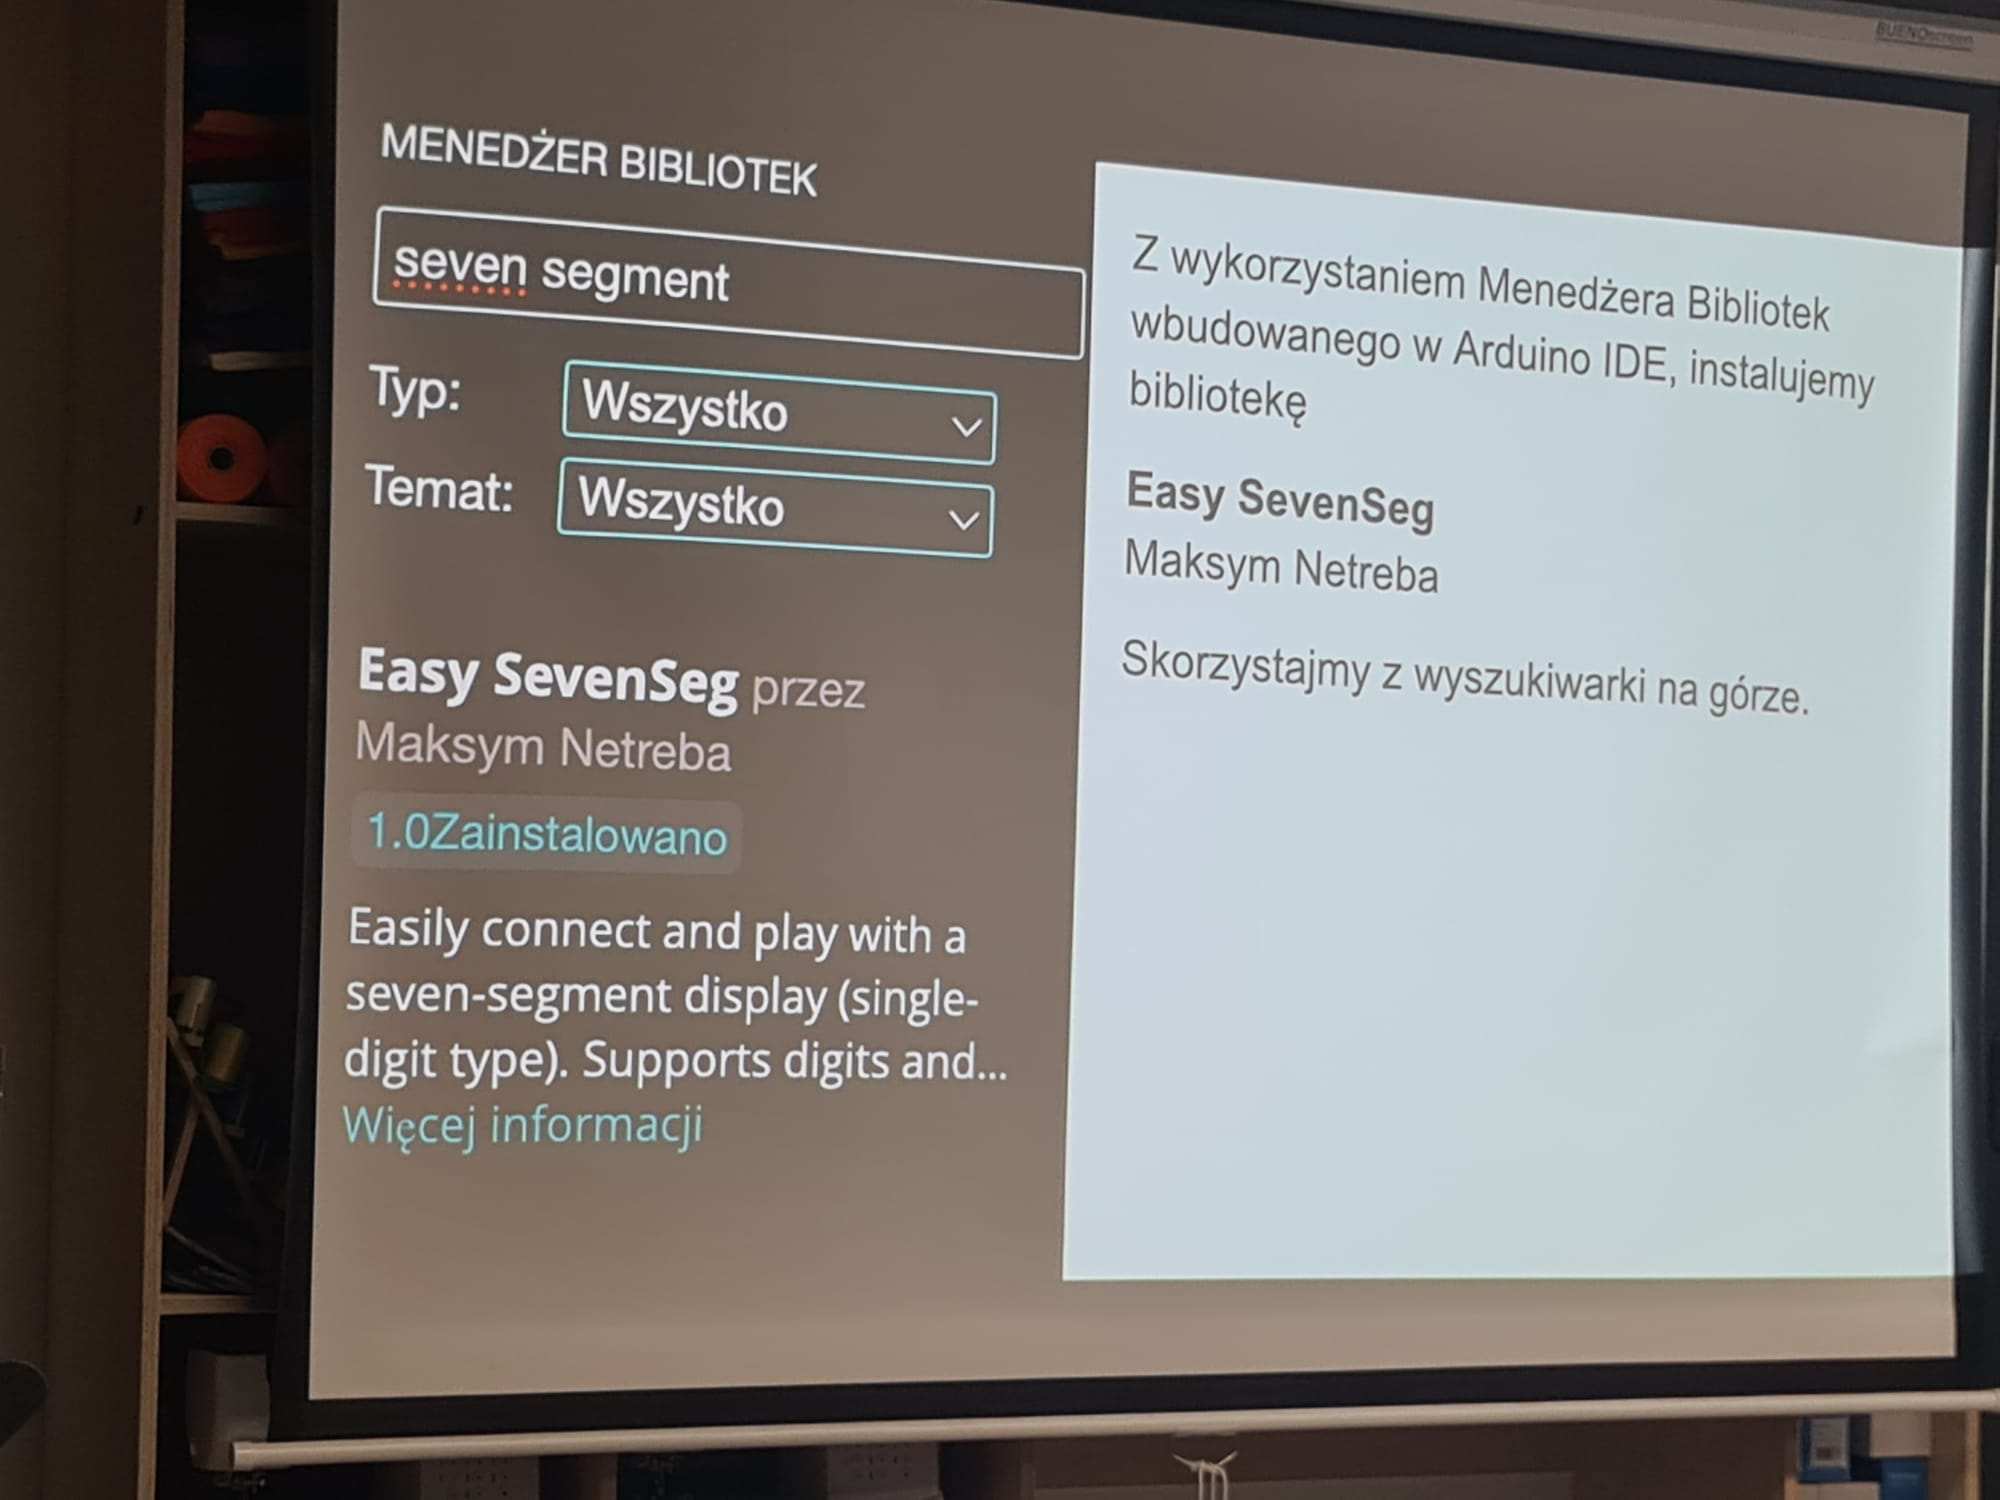
#include <EasySevenSeg.h> // Include library
EasySevenSeg myDisplay; // Initialize class
void setup() {
Serial.begin(9600);
// The "begin" method is required to set pinMode(OUTPUT) // To setup custom pins provide pin numbers that correspond to display pins from 1 to 10 // Display pin #1 is bottom left one. Display pin #6 in top right one // Should be 8 arguments in sum. DISPLAY PINS 3 AND 8 ARE OMITTED, SINCE THEY ARE GND myDisplay.begin(2,3,4,5,6,7,8,9);
// Just pass digit to print it // for (int i=9; i>=0; i--) { // myDisplay.printDigit(i); // delay(1000); // }
// Just pass letter to print it // char letters[] = "ABCDEF"; // for (int i=0; i<6; i++) { // myDisplay.printLetter(letters[i]); // delay(1000); // }}
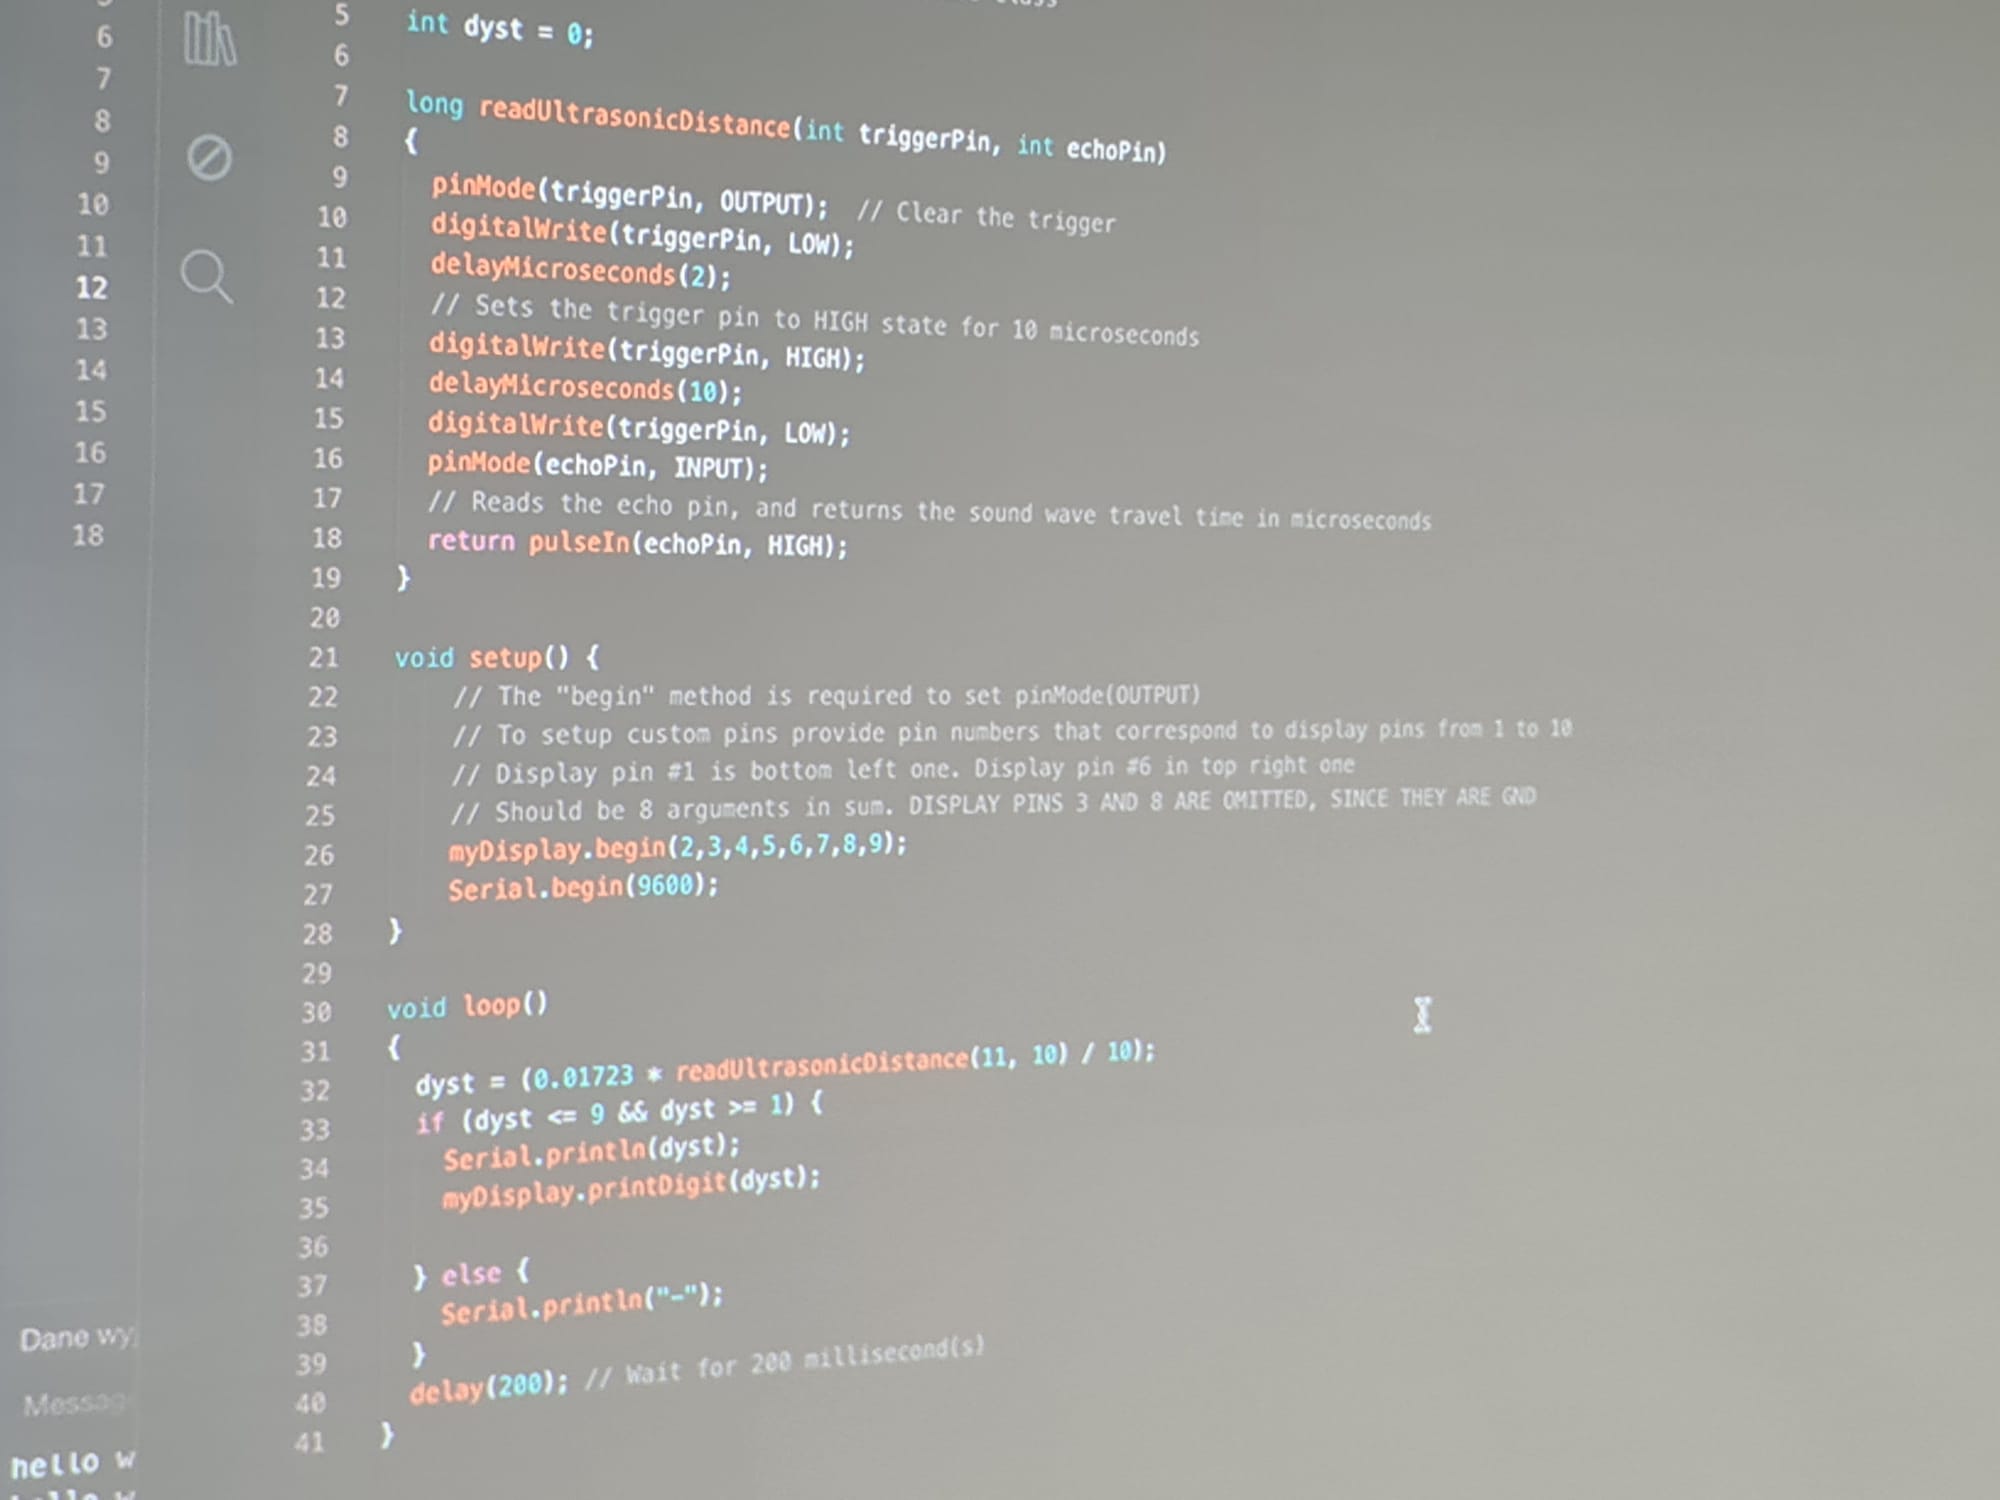
int odczyt = 0;
long readUltrasonicDistance(int triggerPin, int echoPin){ pinMode(triggerPin, OUTPUT); // Clear the trigger digitalWrite(triggerPin, LOW); delayMicroseconds(2); // Sets the trigger pin to HIGH state for 10 microseconds digitalWrite(triggerPin, HIGH); delayMicroseconds(10); digitalWrite(triggerPin, LOW); pinMode(echoPin, INPUT); // Reads the echo pin, and returns the sound wave travel time in microseconds return pulseIn(echoPin, HIGH);}
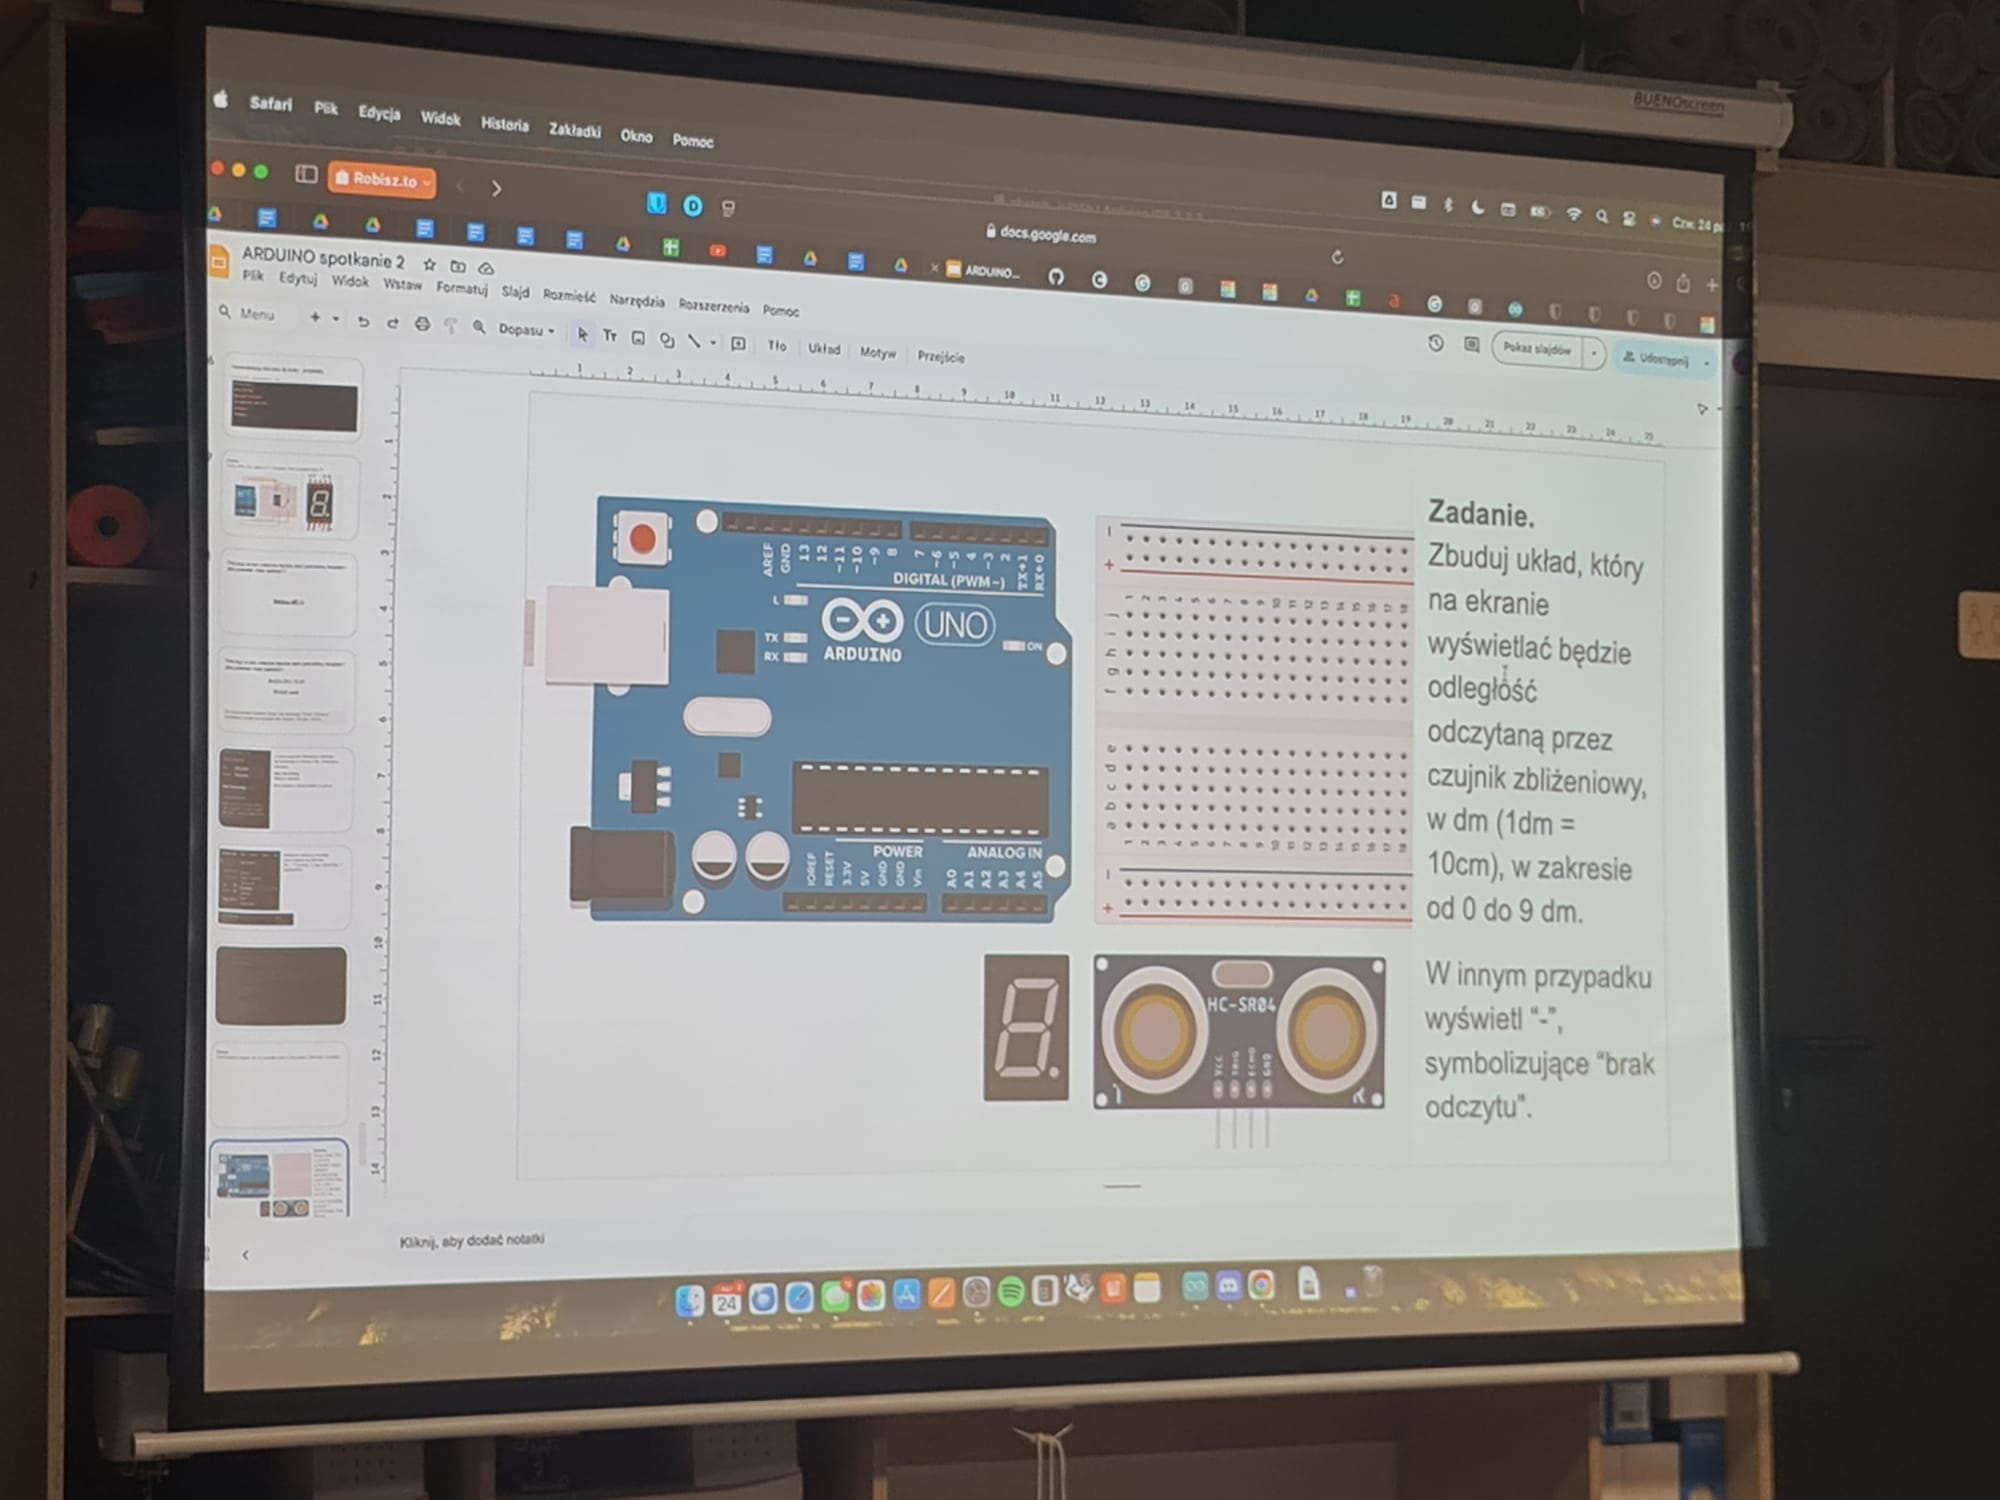
void loop(){ odczyt = 0.01723 * readUltrasonicDistance(12, 13); Serial.print(odczyt); Serial.println("cm"); if (odczyt >= 100 ) { myDisplay.printDigit(6); delay(1000); } if (odczyt >= 170 ) { myDisplay.printDigit(7); delay(1000); } if (odczyt >= 250 ) { myDisplay.printDigit(8); delay(1000); }
if (odczyt >= 500 ) { myDisplay.printDigit(9); delay(1000); }
delay(10); // Delay a little bit to improve


